|
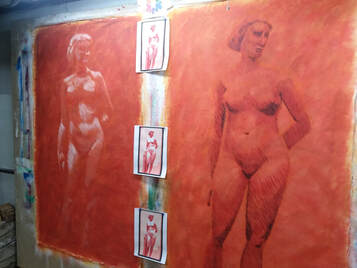
As I begin the process of creating a new woven painting, I have a general idea of what I want the end product to look like but I keep my expectations in check because I have learned that the act of creating is organic and it has to allow for the unexpected. The First Step, is to create the two separate paintings. I take photos of each one and upload them to my computer. |
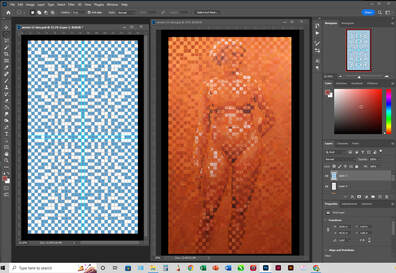
In the Second Step, I use Photoshop to simulate what the paintings will look like woven together. I have quite a few patterns already saved but if I don't like what I have, I'll create a new one or modify an existing pattern. This simulation allows me to determine if the two paintings are going to go together well (meeting my general expectation) or if I need to adjust the color or texture. If I feel the paintings need adjusted, I go back to the canvas.
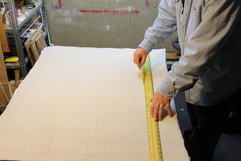
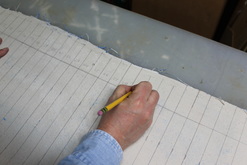
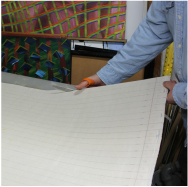
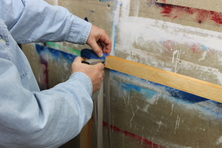
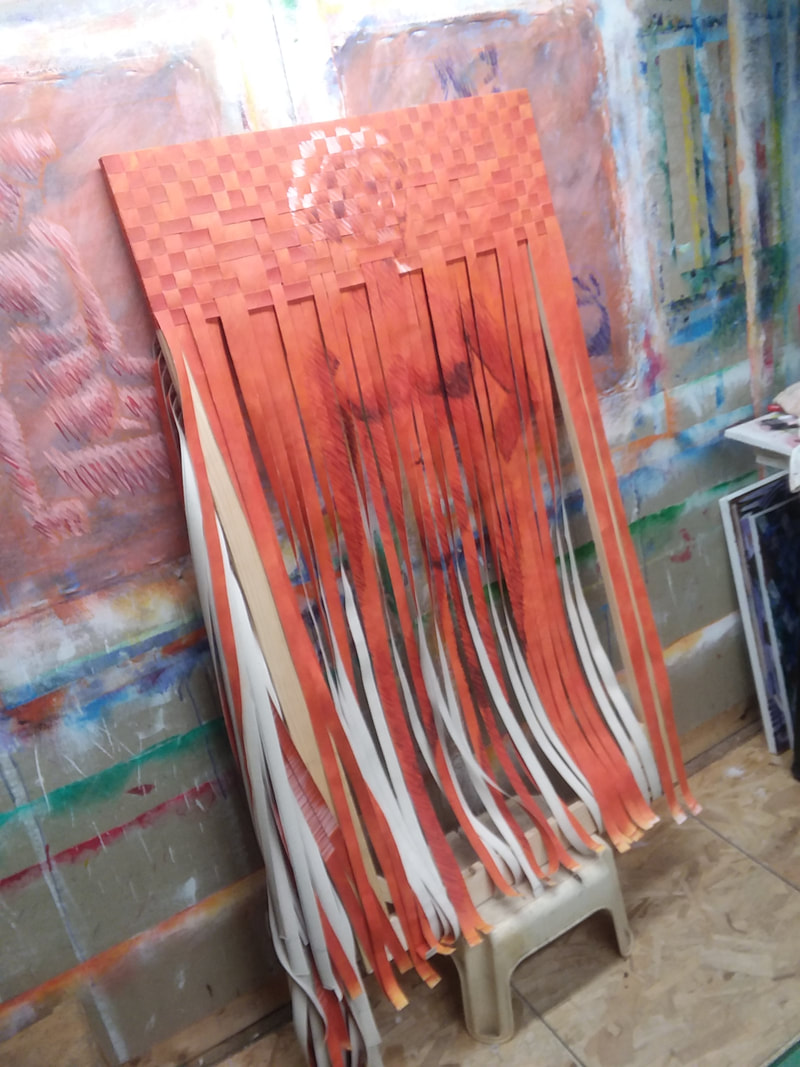
Before I begin cutting the canvas in Third Step below, I have already determined how many strips I need to cut and what size the strips need to be to fit the finished size. This was done while working on the digital simulation. I remove the paintings from the wall and draw lines on the back of the canvases. I also number each strip. I then proceed to cut up the first painting. As each strip is cut, I staple it to the frame. I continue this process until each painting is cut and I have created my warp and weft.
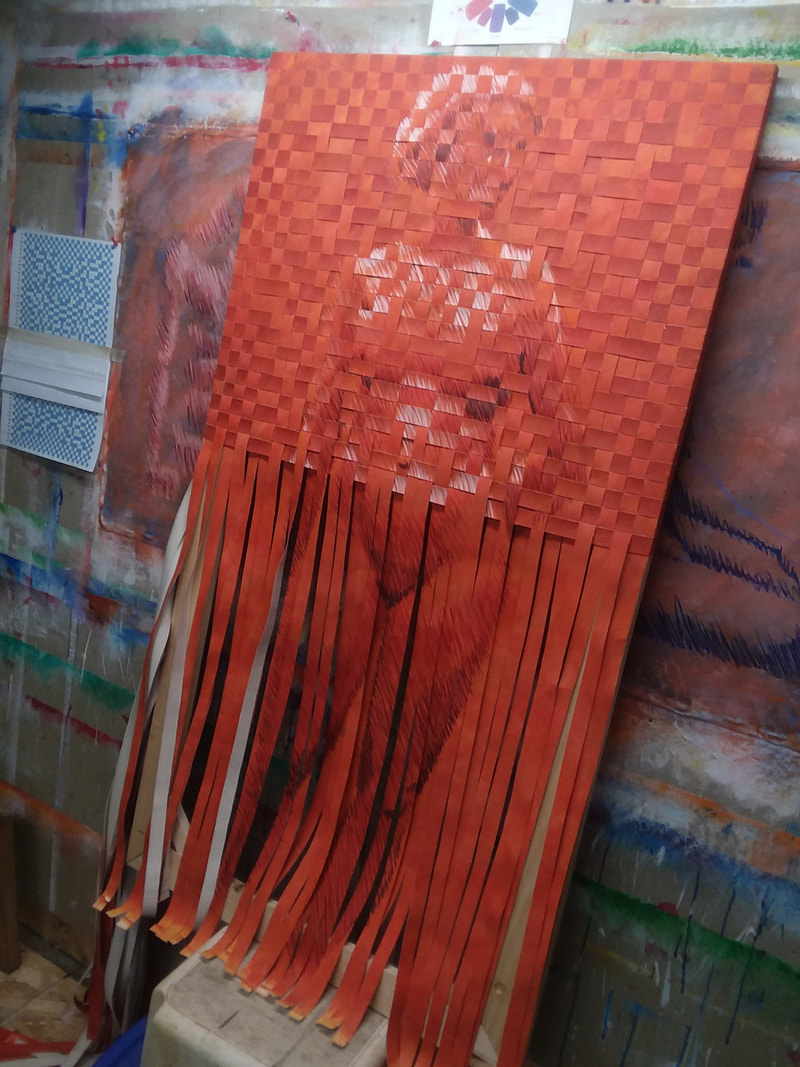
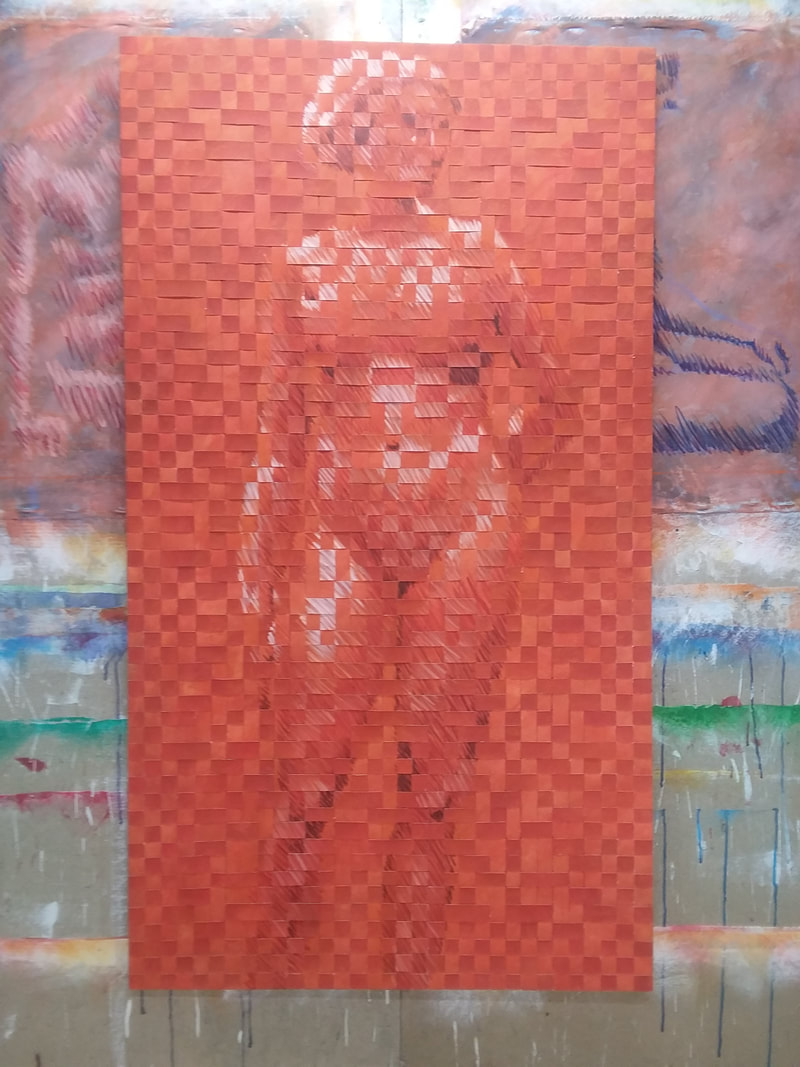
Now we have come to the Fourth Step. I have printed out my pattern and it is stapled above my work space. The weaving begins! After the last strip is woven, I turn the piece over and staple the the bottom edge.
